
Under the Stars: Practical Tips for Astrophotography
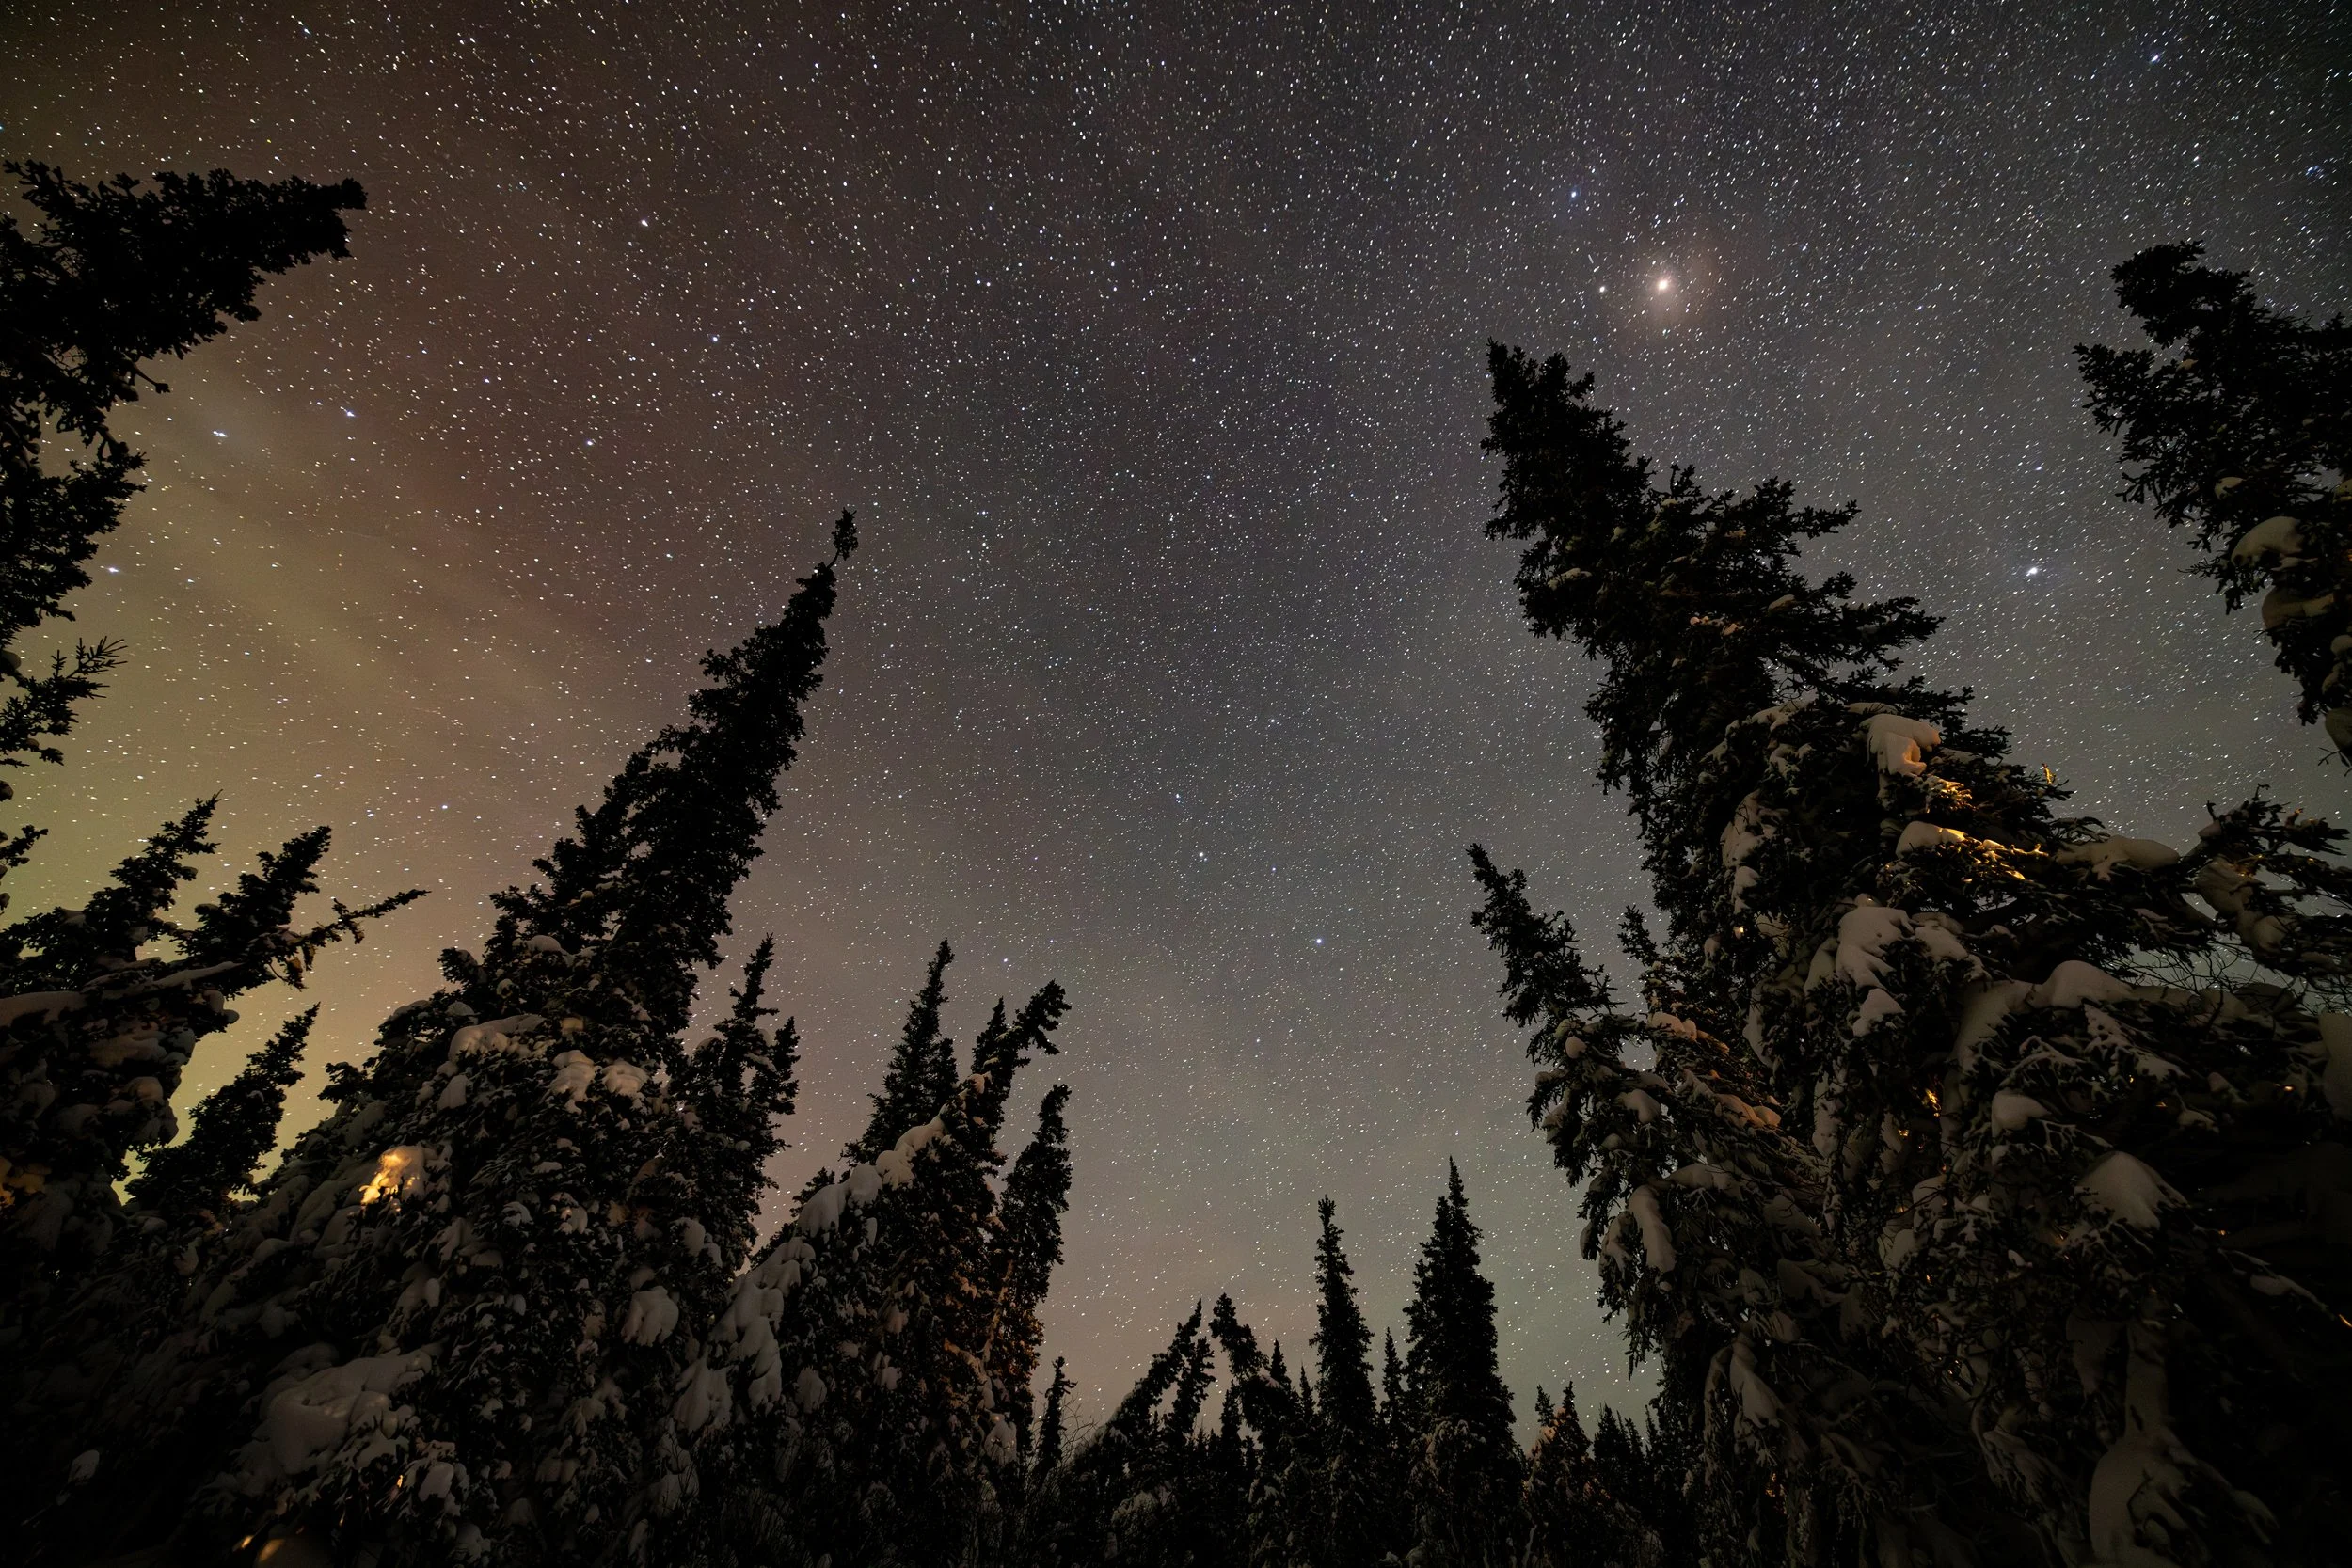
There’s something unforgettable about standing under a truly dark sky. Away from city lights, the stars don’t just appear, they explode into view. The Milky Way stretches overhead, constellations sharpen, and suddenly the night feels vast in a way that’s hard to describe.
Astrophotography is about more than capturing that scene. It’s about learning to work with darkness, patience, and the subtle movement of the Earth itself. The good news? You don’t need the most advanced gear to get started, you just need the right approach.
Choosing the Right Location
The most important factor in astrophotography isn’t always your camera, it’s your location. Light pollution will wash out even the brightest stars, so getting away from artificial light is key.
Look for:
Dark sky areas far from towns or cities
Clear weather and low humidity
A moon phase that works in your favour (new moon = darker skies)
Elevation can help, but even more important is a clear view of the horizon and sky. Places like alpine environments, deserts, and remote coastlines often offer ideal conditions.
Gear That Makes a Difference
You don’t need a massive setup, but a few key pieces of gear will dramatically improve your results.
At minimum, you’ll want:
A camera with manual settings (DSLR or mirrorless)
A sturdy tripod (this is non-negotiable). For crisp shots, the camera should have zero movement for the duration the photo is being taken.
A wide-angle lens with a fast aperture (f/2.8 or lower if possible)
Extras like a remote shutter or intervalometer can help reduce camera shake, but you can also use your camera’s timer if needed.
Dialing in Your Settings
Astrophotography is all about balancing light. You’re working in near darkness, so your camera needs to gather as much light as possible without introducing too much motion blur or noise.
A good starting point:
Aperture: as wide as possible (f/2.8 or lower)
ISO: 1600–3200 depending on your camera (but this can change depending on conditions)
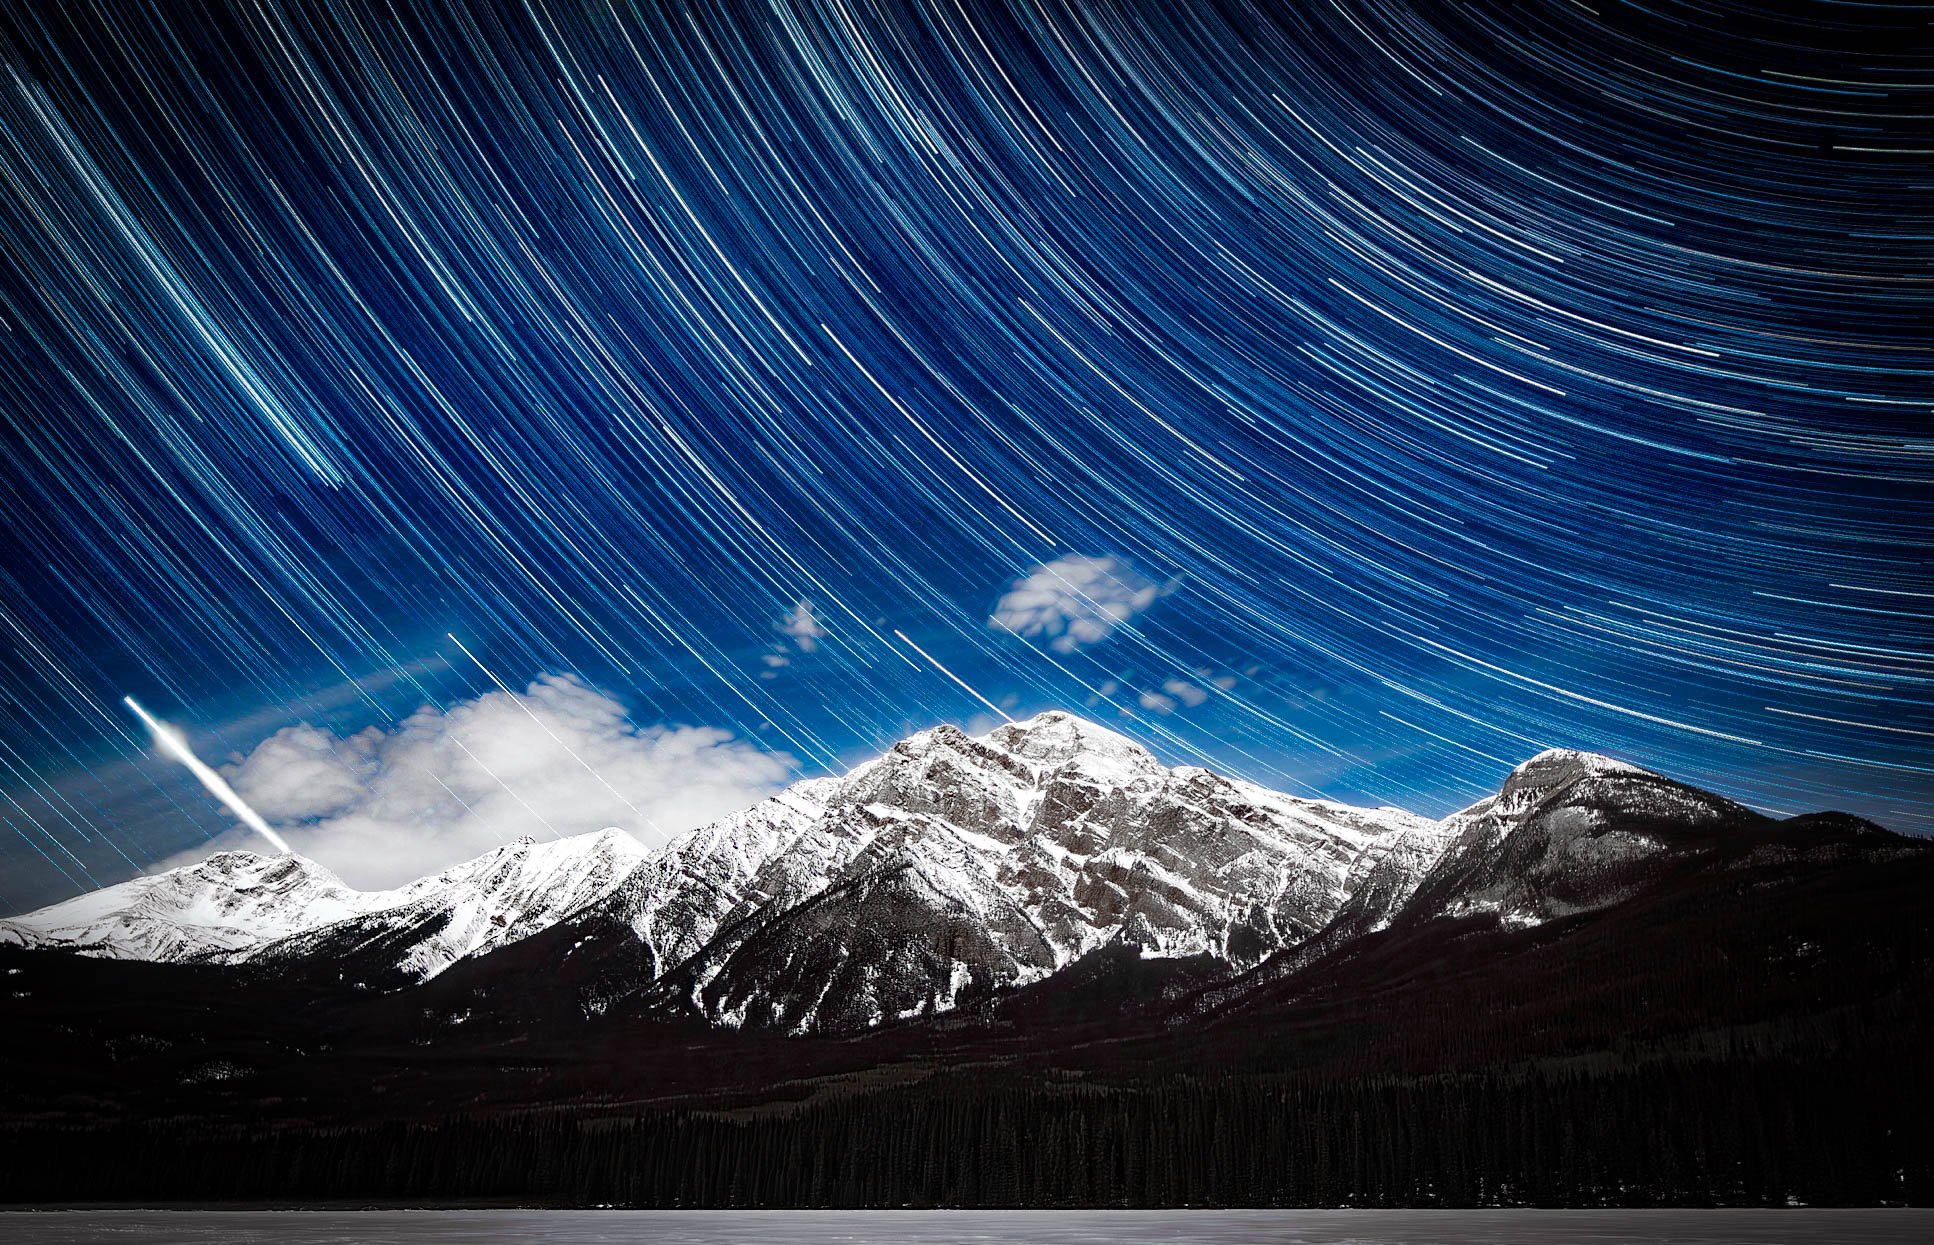
Shutter speed: 10–25 seconds. Too long, and the stars will begin to trail due to Earth’s rotation, and you want your stars sharp.
Pro Tip: take multiple shots produce a star trial shot!
Composing the Night Sky
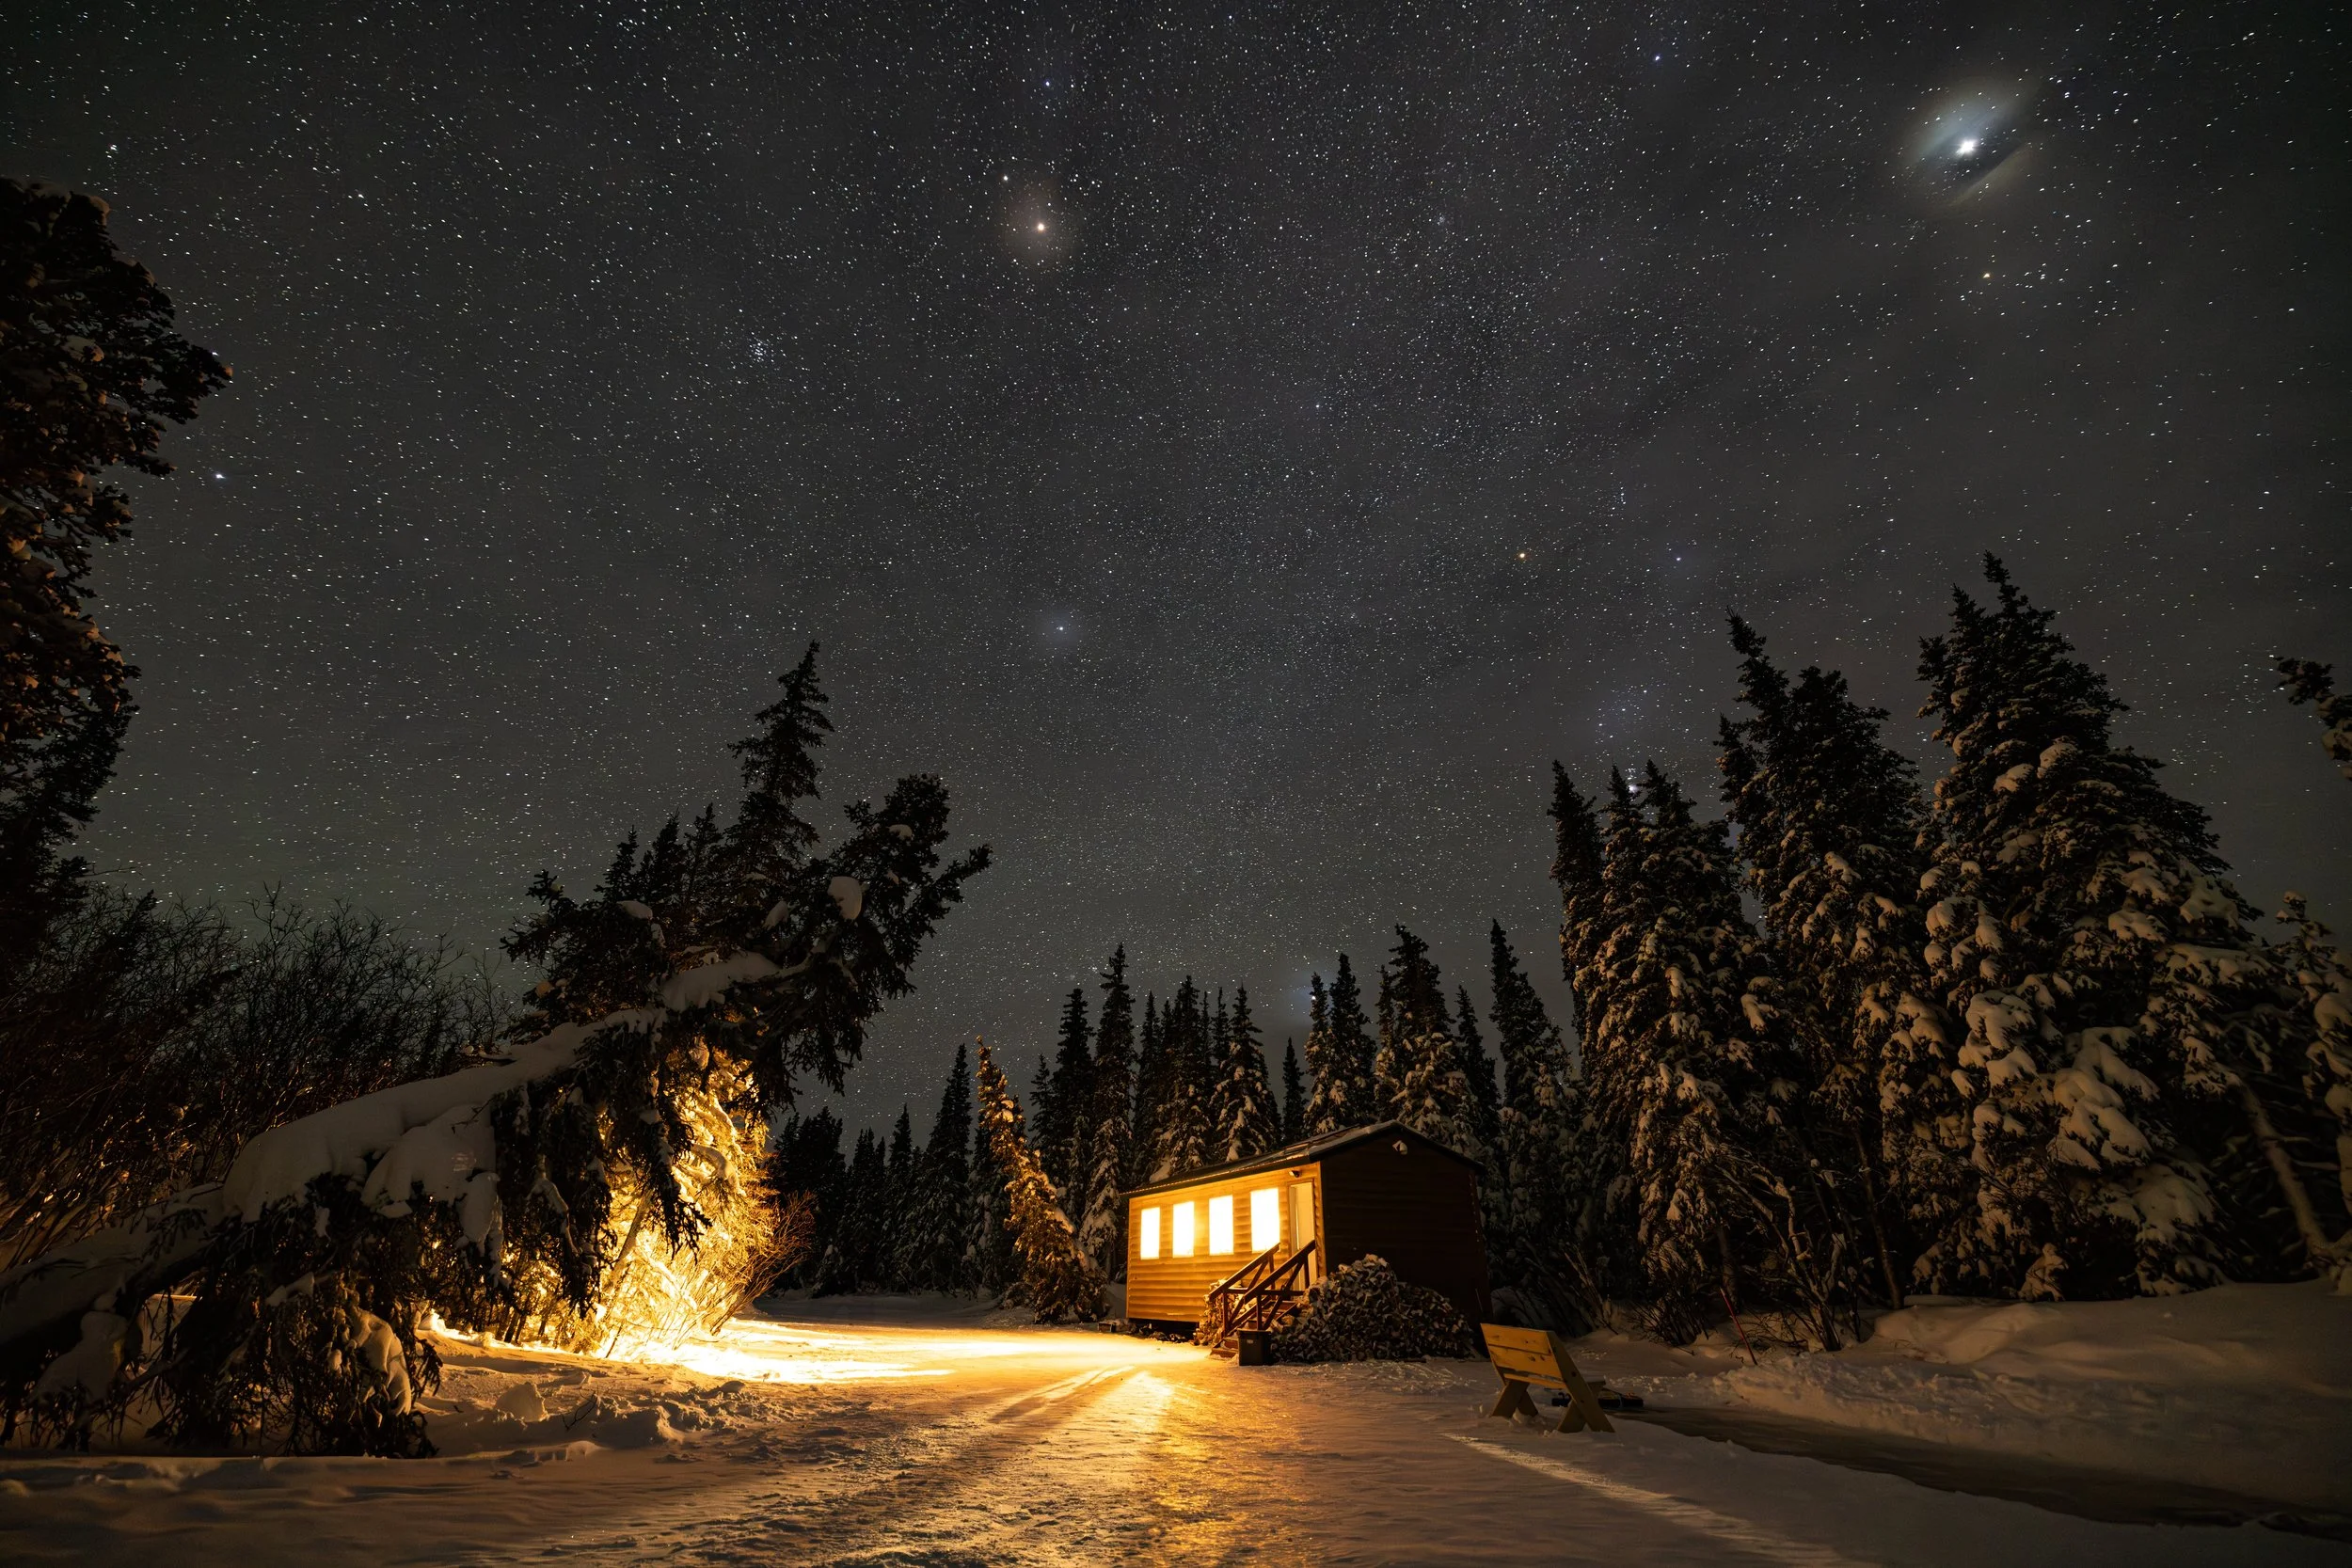
While it’s tempting to point your camera straight up, the most compelling astrophotography often includes a foreground. Mountains, trees, coastlines, or even a simple silhouette can add scale and context to the sky.
Take time to think about composition:
Where is the Milky Way rising or setting?
How does the landscape interact with the sky?
Can you create depth between foreground and stars?
Arriving before dark helps you scout compositions safely and intentionally.
Dressing for the Experience
Astrophotography often means standing still for long periods at night, when temperatures drop quickly. Staying warm and comfortable is essential, not optional.
Bring:
Warm layers (even in summer)
Gloves that allow you to operate your camera
A headlamp with a red light mode (to preserve night vision - try to reduce the amount of artificial white light your eye is exposed to)
Comfort allows you to stay out longer, and the longer you stay, the more opportunities you’ll have as conditions change.
Patience, Practice, and Perspective
Astrophotography rewards patience. The first few images might not be perfect—and that’s part of the process. Adjust settings, review your shots, and keep experimenting.
More importantly, don’t forget to look up.
It’s easy to get caught in camera settings and technical details, but the real experience is happening above you. The quiet, the scale, the sense of being a small part of something vast. That’s what draws people to the night sky in the first place.
The camera is just a way to bring a piece of that feeling home.
Join us on an expedition to learn more about night photography… just make sure you dress for it!